Writing Your First End-to-End Test in Cypress
Cypress is a powerful JavaScript-based end-to-end testing framework. This guide walks you through writing your first test step by step.
1. Setting Up Cypress
- Install Cypress and open it.
- Use the “Create new empty spec” button to add a test file.
- Run the default test to verify Cypress is working.
2. Writing Your First Test
Start with a basic test:
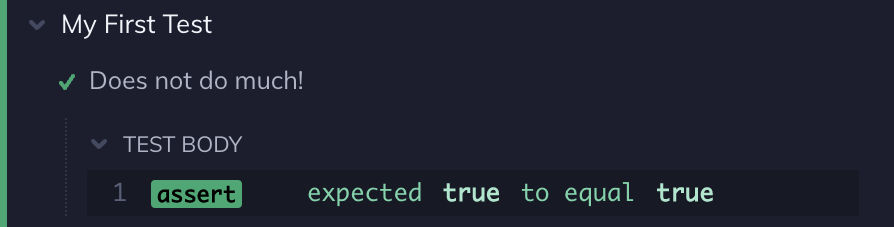
describe('My First Test', () => {
it('Does not do much!', () => {
expect(true).to.equal(true);
});
});
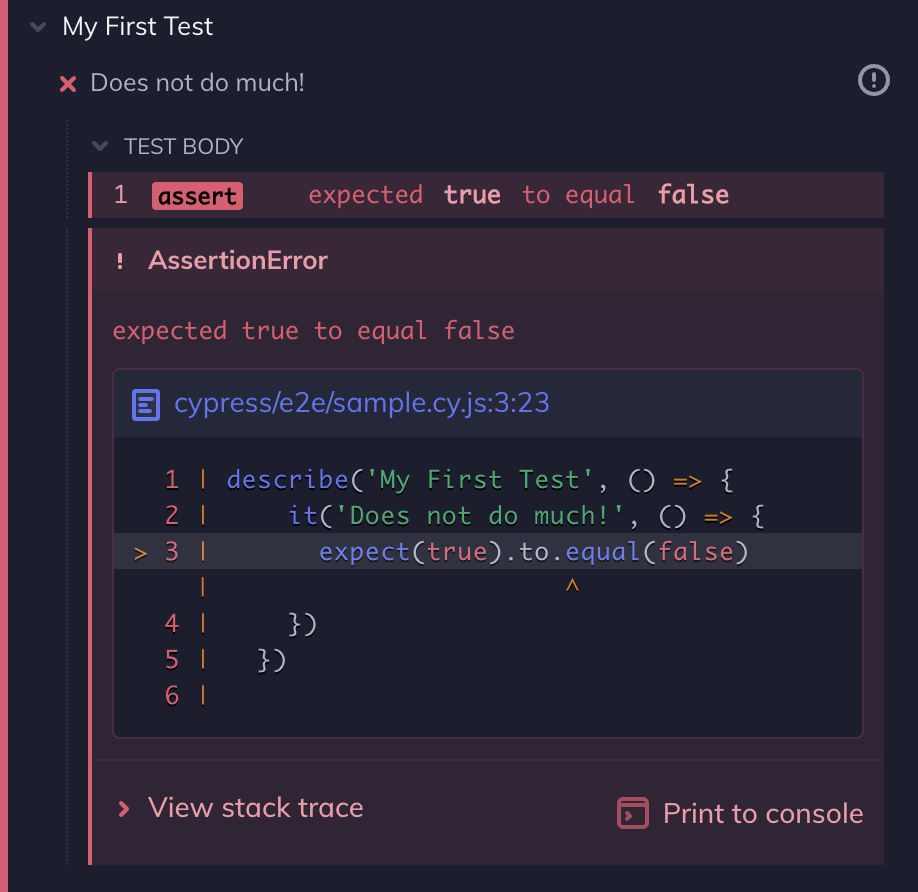
describe('My First Test', () => {
it('Does not do much!', () => {
expect(true).to.equal(false);
});
});
3. Writing a Real Test
A well-structured test follows three phases:
- Set up: Visit a web page using
cy.visit(). - Action: Query and interact with elements (
cy.contains().click()). - Assertion: Verify the expected outcome (
cy.url().should('include', '/expected-path')).
Example: Clicking a Link and Verifying the Result
describe('My First Test', () => {
  it('Clicks the link and verifies the new page', () => {
    cy.visit('https://example.cypress.io');
    cy.contains('type').click();
    cy.url().should('include', '/commands/actions');
    cy.get('.action-email').type('fake@email.com');
    cy.get('.action-email').should('have.value', 'fake@email.com');
  });
});
4. Key Takeaways
- Cypress provides built-in commands like
cy.visit(),cy.contains(),cy.click(), andcy.should(). - Tests are written using Mocha (
describe&it) and assertions with Chai (expect,should). - Cypress automatically waits and retries commands, making it more stable for real-world web applications.
Leave a Reply